Classic Cherry Cheesecake – Creamy, Dreamy & Irresistibly Delicious

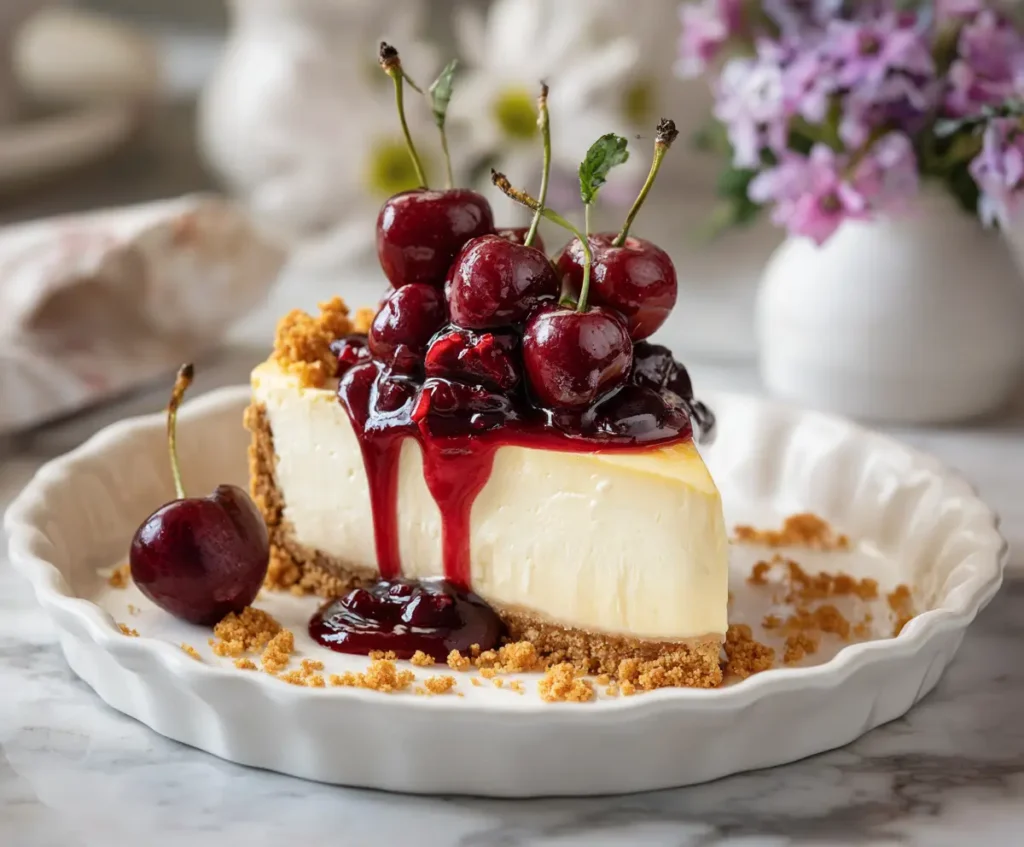
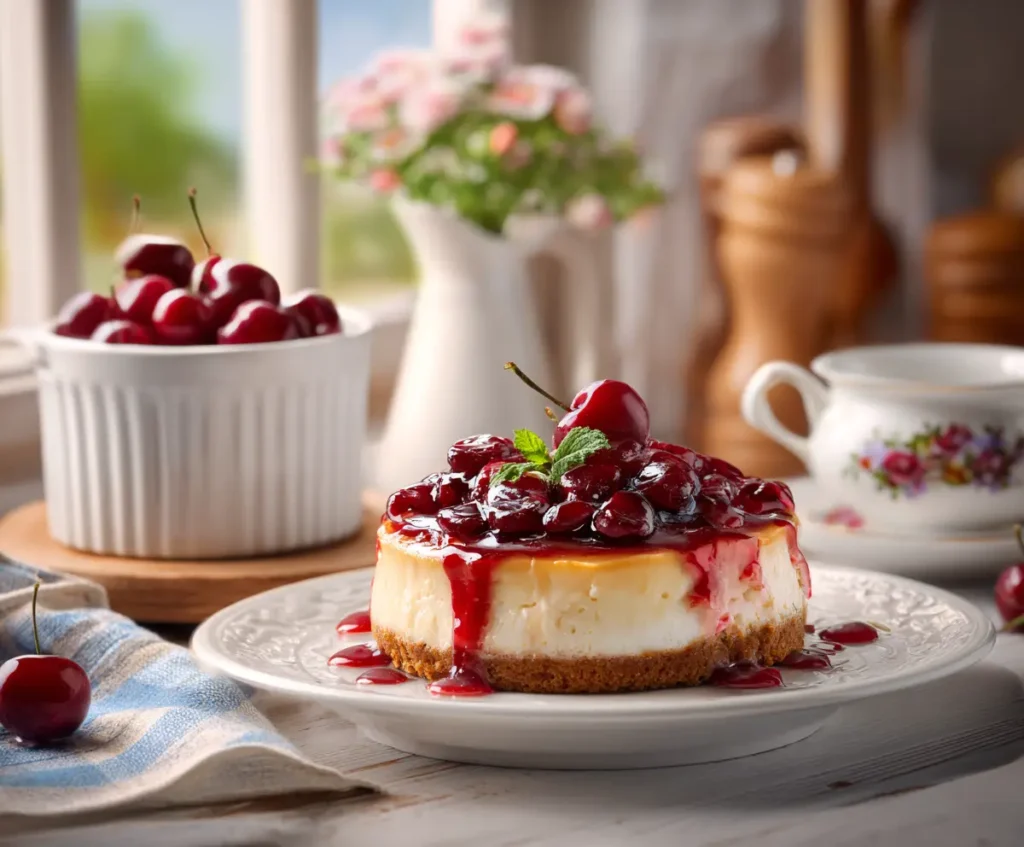
Few desserts can match the indulgent perfection of a Cherry Cheesecake — silky smooth cream cheese filling, buttery graham cracker crust, and a glossy cherry topping that’s both sweet and tangy. This dessert is the star of every celebration, from birthdays to holidays, and it never fails to impress guests.
Originating from ancient Greece and perfected in American kitchens, this cherry-topped version adds a burst of fruity flavor to the traditional cheesecake. Whether you’re a beginner baker or a pro, this recipe is foolproof, rich, and guaranteed to make your taste buds dance!
Ingredients (For a 9-inch Cheesecake)
🧈 For the Crust:
- 1 ½ cups graham cracker crumbs (about 12 full crackers)
- ¼ cup granulated sugar
- ½ cup unsalted butter, melted
🍰 For the Cheesecake Filling:
- 3 (8 oz) packages cream cheese, softened (total 24 oz)
- 1 cup granulated sugar
- 1 cup sour cream
- 3 large eggs
- 2 tsp pure vanilla extract
- 2 tbsp all-purpose flour (optional – for a firmer texture)
🍒 For the Cherry Topping:
- 1 can (21 oz) cherry pie filling (or use homemade cherry compote)
Step-by-Step Cooking Guide
- Preheat Oven: Preheat your oven to 325°F (163°C). Grease a 9-inch springform pan and line the bottom with parchment paper.
- Prepare the Crust: In a bowl, mix graham cracker crumbs, sugar, and melted butter. Press the mixture firmly into the bottom of the pan. Bake for 10 minutes, then set aside to cool.
- Make the Filling: Beat cream cheese until smooth using an electric mixer. Gradually add sugar, then mix in sour cream, vanilla, and flour. Add eggs one at a time, mixing gently until fully combined.
- Assemble: Pour the cheesecake filling over the cooled crust. Smooth the top with a spatula.
- Bake: Place the springform pan inside a larger roasting pan. Pour hot water into the roasting pan halfway up the sides (water bath). Bake for 55–65 minutes or until the center is almost set but slightly jiggly.
- Cool & Chill: Turn off the oven and let the cheesecake cool inside with the door slightly open for 1 hour. Remove from the oven, then refrigerate for at least 6 hours or overnight.
- Add Cherry Topping: Spoon cherry pie filling over the chilled cheesecake right before serving.
Cooking Time & Serving Size
| Step | Time |
|---|---|
| Prep Time | 20 minutes |
| Cook Time | 1 hour |
| Chilling Time | 6 hours |
| Total Time | 7 hours 20 minutes |
| Serving Size | 12 slices |
Tips & Variations
- No-Bake Option: Skip the eggs and bake time — use whipped cream instead of sour cream for a no-bake version.
- Homemade Cherry Topping: Simmer 2 cups fresh or frozen cherries with ½ cup sugar, 1 tbsp lemon juice, and 1 tbsp cornstarch slurry until thick.
- Flavored Cheesecakes: Add lemon zest, almond extract, or chocolate swirls for unique flavor variations.
- Perfect Texture Tip: Avoid overmixing after adding eggs — this keeps your cheesecake creamy and prevents cracks.
- Crack-Free Finish: Bake in a water bath and cool slowly to maintain a smooth top.
Nutrition Info (Per Serving – Approximate)
| Nutrient | Amount |
|---|---|
| Calories | 410 kcal |
| Protein | 7 g |
| Carbohydrates | 36 g |
| Fat | 26 g |
| Fiber | 1 g |
| Sugar | 28 g |
Healthy Alternatives
- Low-Fat Option: Use light cream cheese and Greek yogurt instead of sour cream.
- Sugar-Free Version: Replace sugar with monk fruit or erythritol sweetener.
- Gluten-Free: Use gluten-free graham crackers for the crust.
- Keto-Friendly: Swap crust with almond flour and butter; use stevia for sweetness.
- Dairy-Free: Replace cream cheese with vegan cashew cream cheese and use coconut cream instead of sour cream.
Serving Suggestions
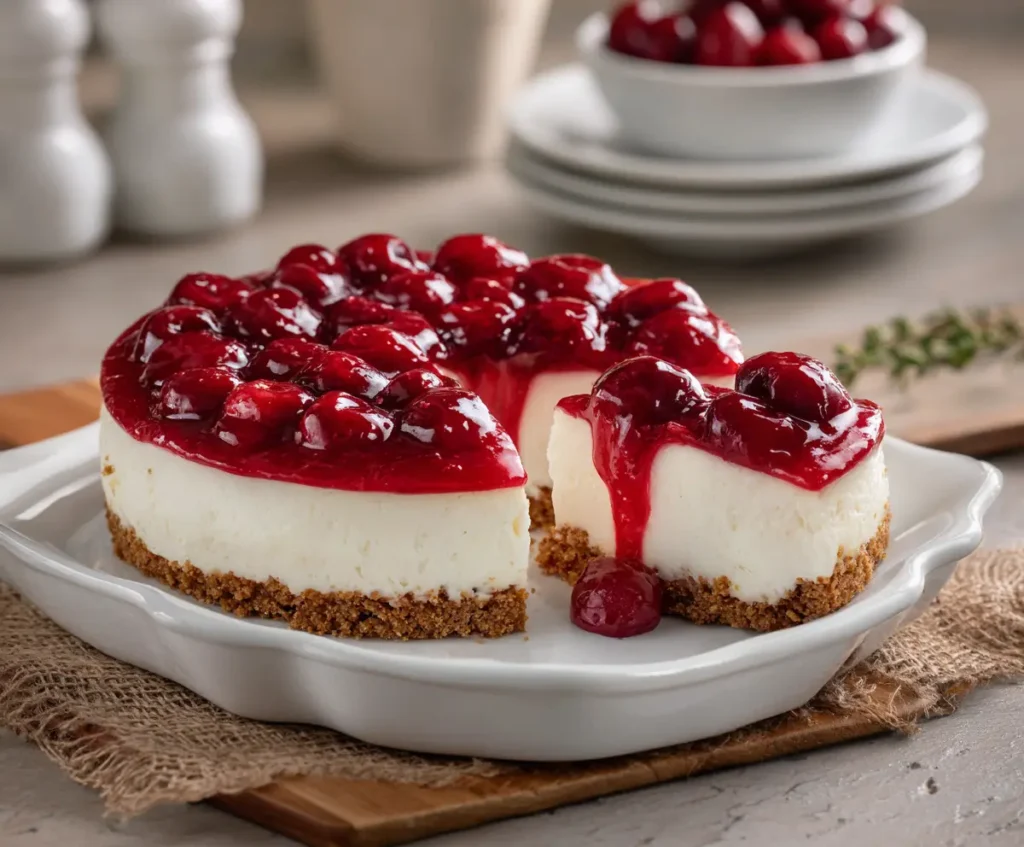
Serve this Cherry Cheesecake chilled, topped with extra cherry syrup or whipped cream for a truly indulgent dessert. It’s perfect for romantic dinners, family gatherings, or festive holidays. Pair it with a cup of coffee or a glass of sparkling wine for the ultimate dessert experience.
This classic cheesecake is creamy, rich, and irresistibly luscious — a timeless treat that’s always worth the effort!
FAQ’s
Q1: How do I prevent my cheesecake from cracking?
Use a water bath, avoid overmixing, and let the cheesecake cool gradually with the oven door slightly open.
Q2: Can I make this cheesecake ahead of time?
Yes! It tastes even better the next day. Chill overnight for the best texture and flavor.
Q3: How do I know when the cheesecake is done baking?
The edges should be set, but the center should still jiggle slightly when you gently shake the pan.
Q4: Can I freeze cherry cheesecake?
Absolutely! Freeze slices (without topping) for up to 2 months. Thaw overnight in the refrigerator before serving.
Q5: What can I use instead of cherry topping?
You can try blueberry, strawberry, raspberry, or even chocolate ganache for a fun twist.