Perfect Seared Scallops and Pasta – Restaurant-Style Creamy Garlic Recipe
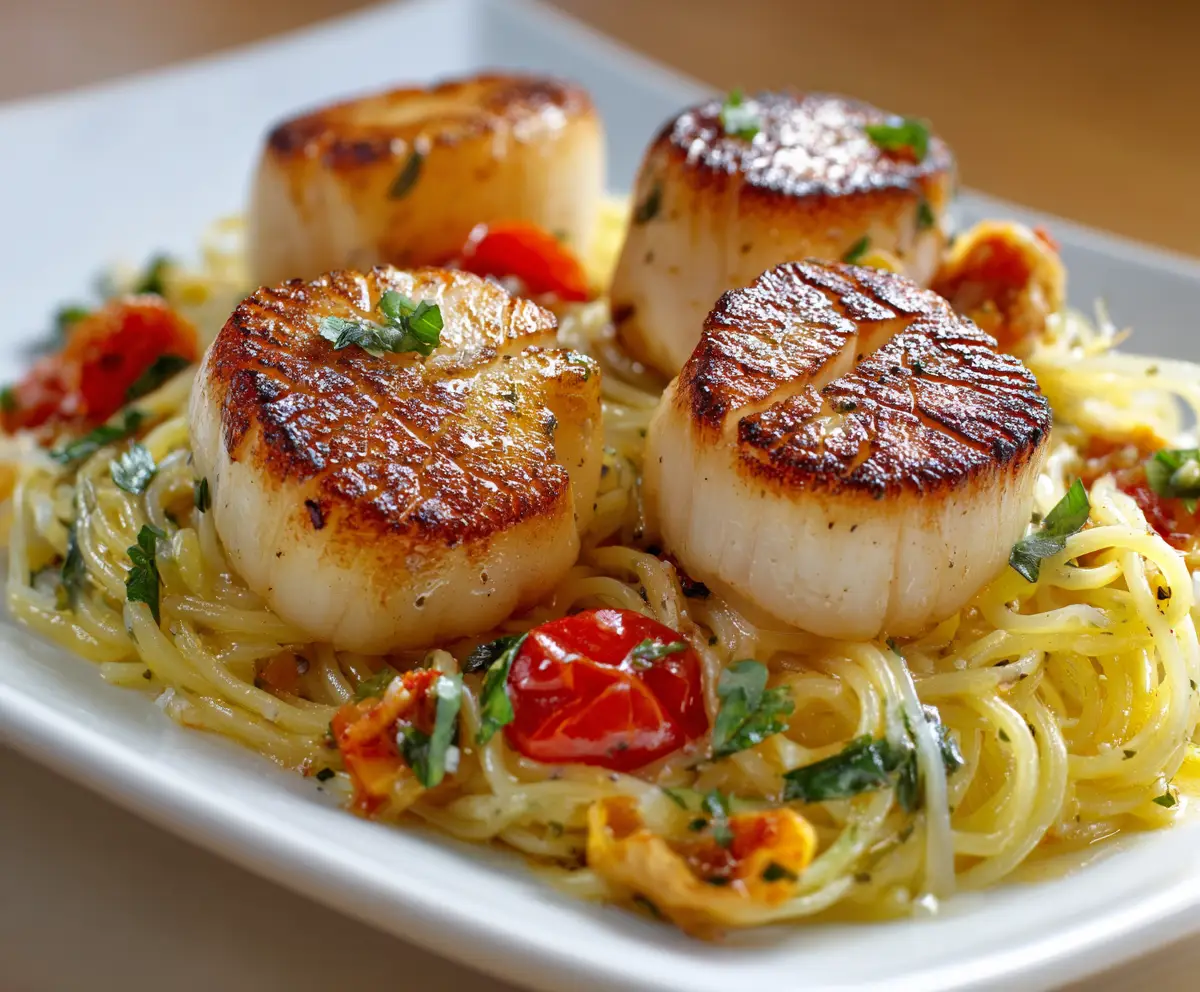
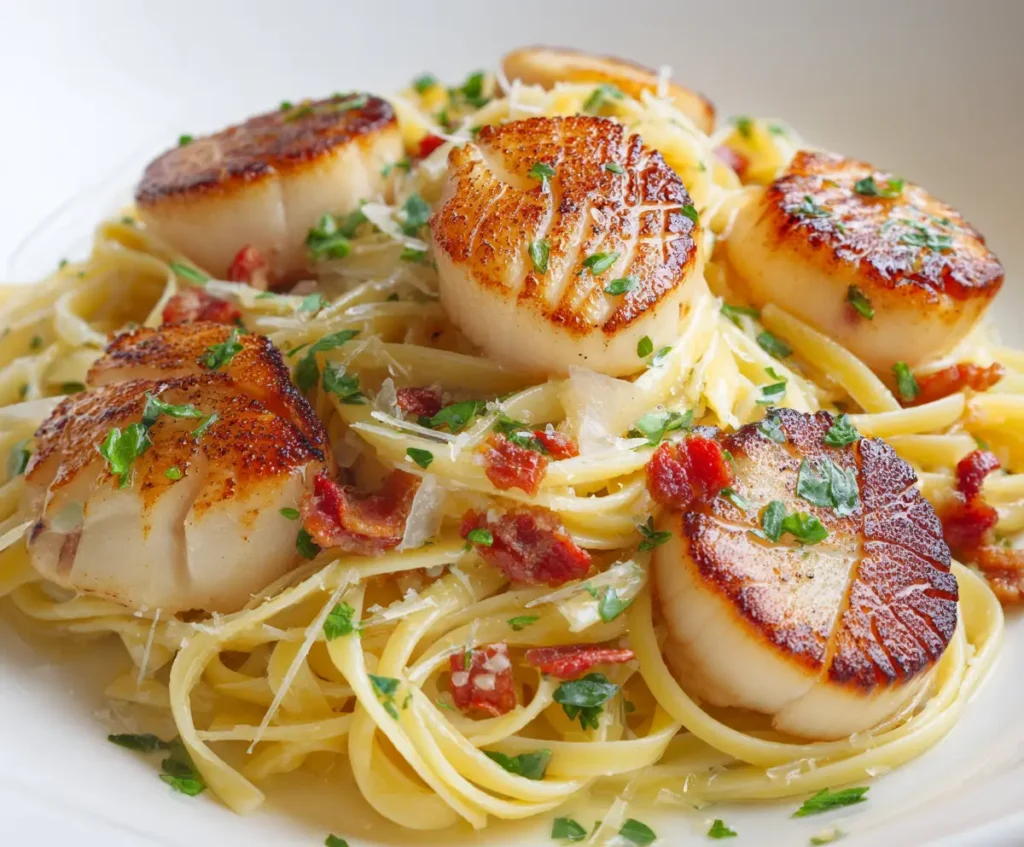
Nothing feels more elegant yet comforting than a plate of perfectly seared scallops and pasta. This dish brings together buttery golden scallops with silky pasta tossed in a light garlic cream sauce.
It is the kind of meal you would expect at a fine dining restaurant, yet it is surprisingly simple to make at home. Whether for a romantic dinner, a special celebration, or a cozy weekend treat, this recipe delivers luxurious flavor in under 30 minutes.
Ingredients (Serves 2–3)
For the Scallops
- 12 large sea scallops (patted completely dry)
- 1 tablespoon olive oil
- 1 tablespoon unsalted butter
- ½ teaspoon salt
- ½ teaspoon black pepper
For the Pasta
- 250 g fettuccine or linguine
- 2 tablespoons butter
- 3 cloves garlic, minced
- ½ cup heavy cream
- ½ cup pasta cooking water
- ½ teaspoon salt
- ½ teaspoon black pepper
- ¼ teaspoon red chili flakes (optional)
- 2 tablespoons grated Parmesan cheese
- 1 tablespoon lemon juice
- 1 tablespoon chopped parsley
Step-by-Step Cooking Guide
Step 1 – Cook the Pasta
- Bring a large pot of salted water to a boil.
- Add pasta and cook according to package instructions.
- Reserve ½ cup pasta water before draining.
Step 2 – Sear the Scallops
- Pat scallops very dry with paper towels (this is key for a good sear).
- Heat olive oil in a heavy pan over medium-high heat.
- Add scallops in a single layer without crowding the pan.
- Sear for 2–3 minutes per side until golden brown.
- Add butter at the last minute and baste scallops lightly.
- Remove scallops and set aside.
Step 3 – Make the Garlic Cream Sauce
- In the same pan, melt butter over medium heat.
- Add minced garlic and sauté for 30 seconds.
- Pour in heavy cream and simmer gently.
- Add reserved pasta water and stir well.
- Mix in Parmesan cheese, salt, pepper, and chili flakes.
Step 4 – Combine Pasta and Sauce
- Add drained pasta to the sauce and toss well.
- Stir in lemon juice and parsley.
Step 5 – Serve
- Plate the pasta.
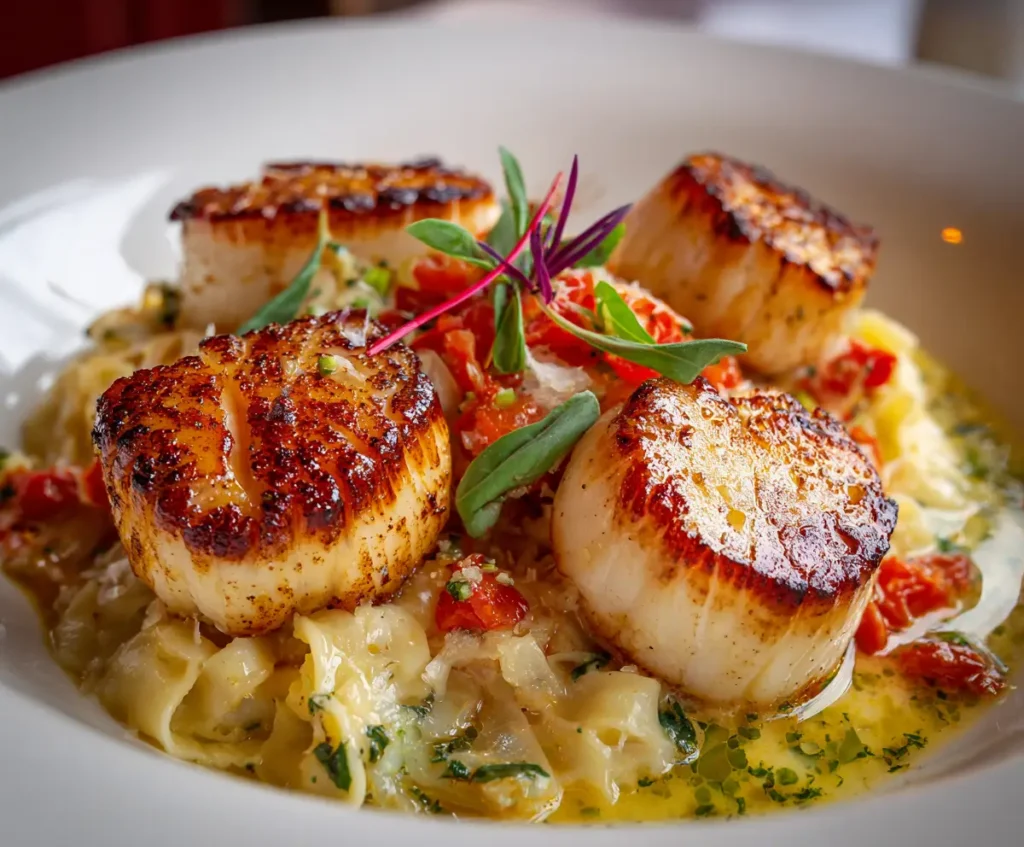
- Place seared scallops on top.
- Sprinkle extra Parmesan if desired.
Cooking Time & Serving Size
| Step | Time |
|---|---|
| Prep Time | 10 minutes |
| Cook Time | 15 minutes |
| Total Time | 25 minutes |
| Serving Size | 1 generous plate per person |
Tips & Variations
- Use fresh scallops for the best texture and flavor.
- Do not move scallops while searing — let them develop a crust.
- For extra flavor, add a splash of white wine to the sauce.
- Replace cream with half-and-half for a lighter version.
- Add spinach or mushrooms for more depth.
Nutrition Info (Per Serving – Approximate)
| Nutrient | Amount |
|---|---|
| Calories | 520 kcal |
| Protein | 28 g |
| Carbohydrates | 48 g |
| Fat | 28 g |
| Fiber | 2 g |
| Sugar | 3 g |
Values may vary based on pasta type and portion size.
Healthy Alternatives
Low-Oil Version
- Use only 1 teaspoon olive oil for searing.
- Replace butter with light olive spread.
Sugar-Free
- This recipe is naturally sugar-free.
Gluten-Free Option
- Use gluten-free pasta instead of regular pasta.
Keto-Friendly Option
- Replace pasta with zucchini noodles or shirataki noodles.
- Use heavy cream only for the sauce.
Serving Suggestions
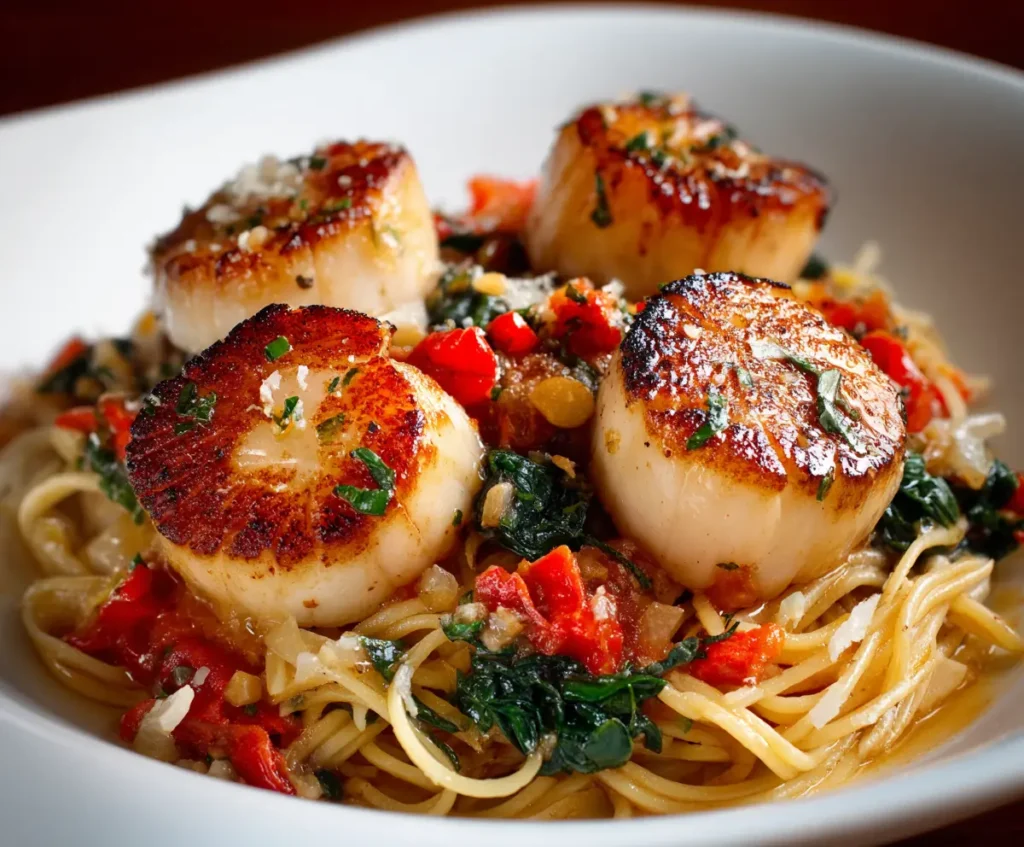
Serve seared scallops and pasta hot, topped with fresh parsley and a squeeze of lemon. Pair it with a crisp green salad and a glass of white wine for a perfect restaurant-style meal at home.
This dish is creamy, luxurious, and full of flavor — once you try it, it may become your favorite special-occasion dinner.
Frequently Asked Questions
Can I use frozen scallops?
Yes, but thaw completely and pat dry before cooking.
Why won’t my scallops brown?
They are likely too wet or the pan is not hot enough.
Can I make this without cream?
Yes, use milk mixed with a little cornstarch instead.
Can I add shrimp instead?
Absolutely — shrimp works beautifully with this sauce.
How long do leftovers last?
Store in the fridge for up to 2 days; reheat gently on low heat.