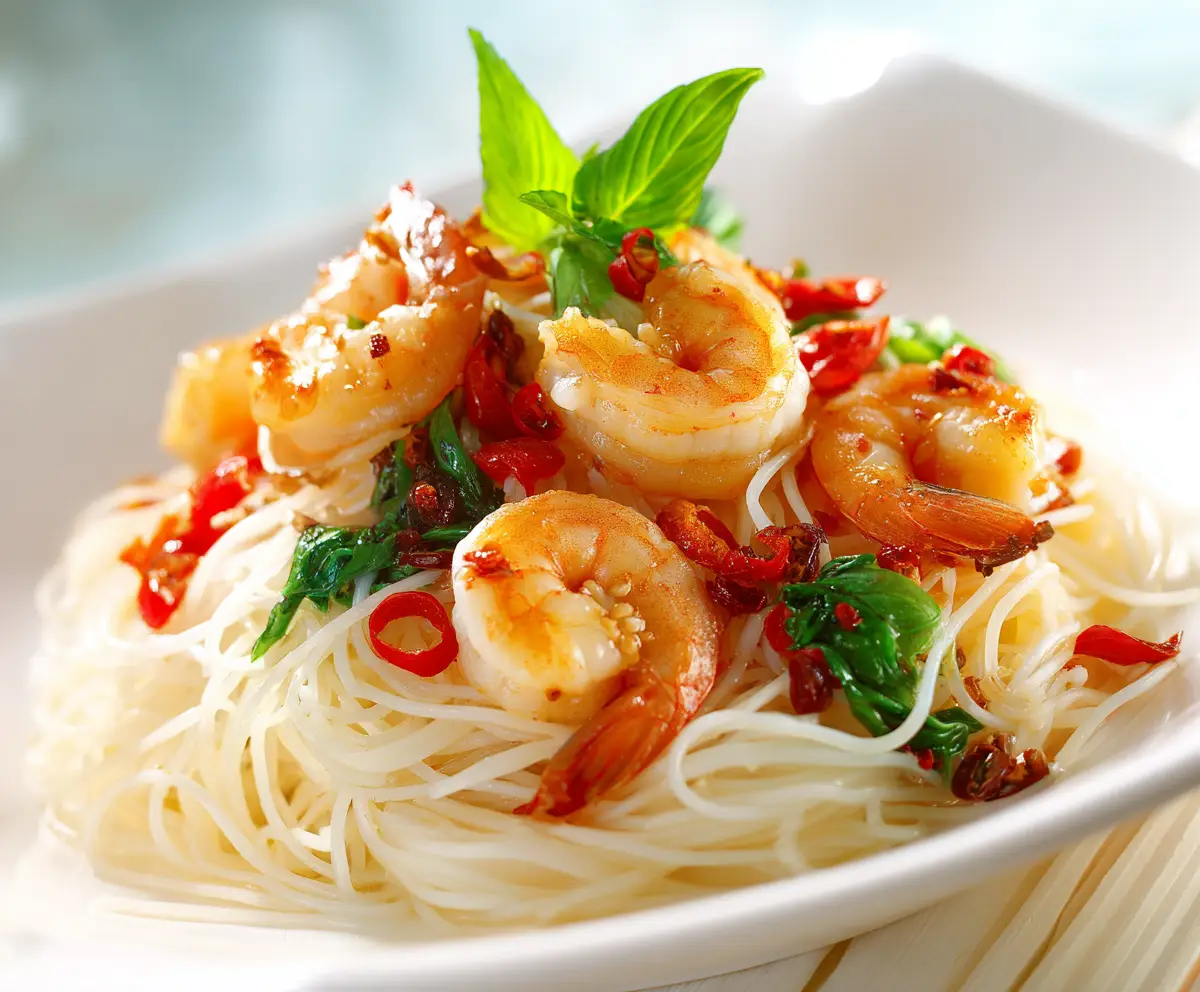
Spicy Shrimp Roll Sushi Recipe – Fresh, Flavorful & Easy Homemade Sushi
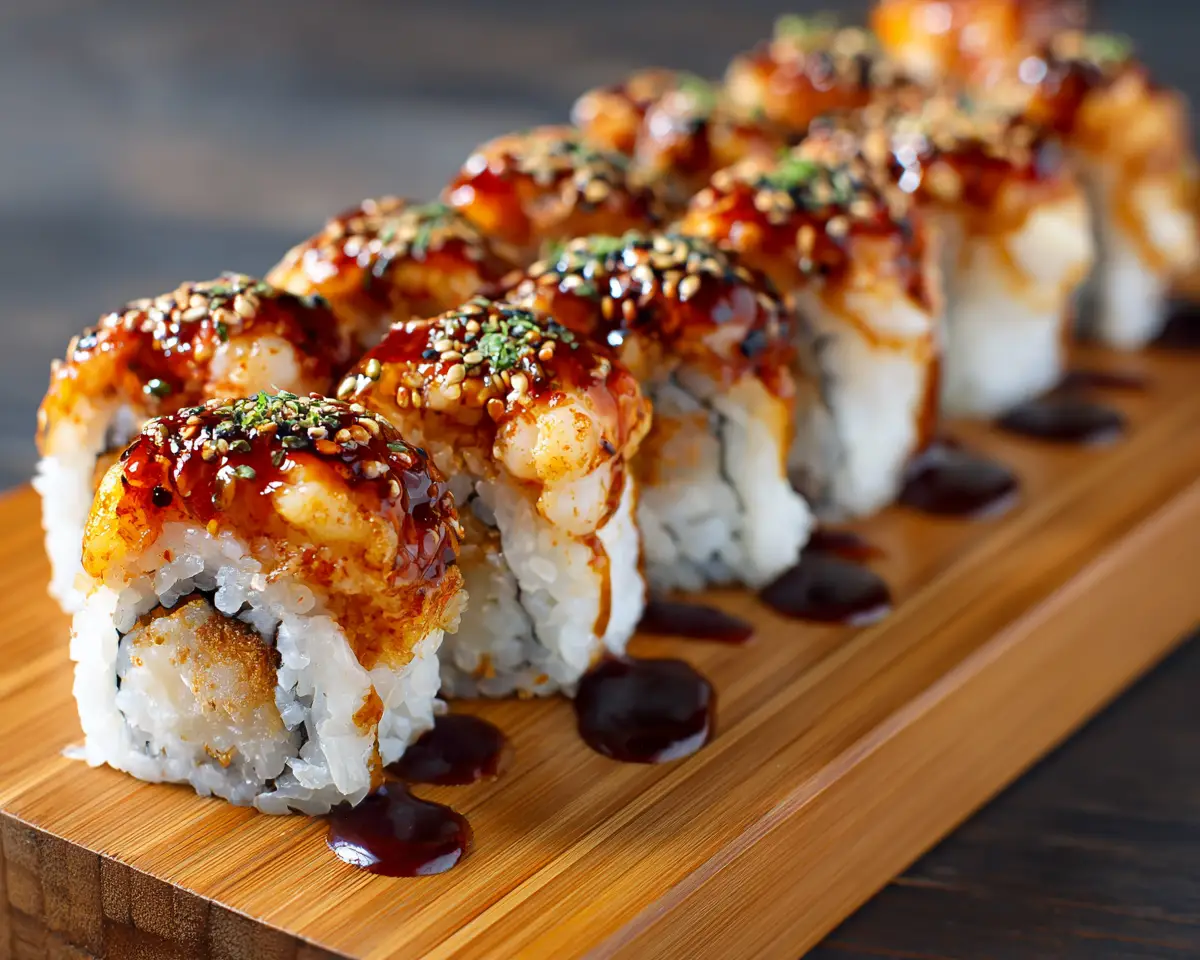
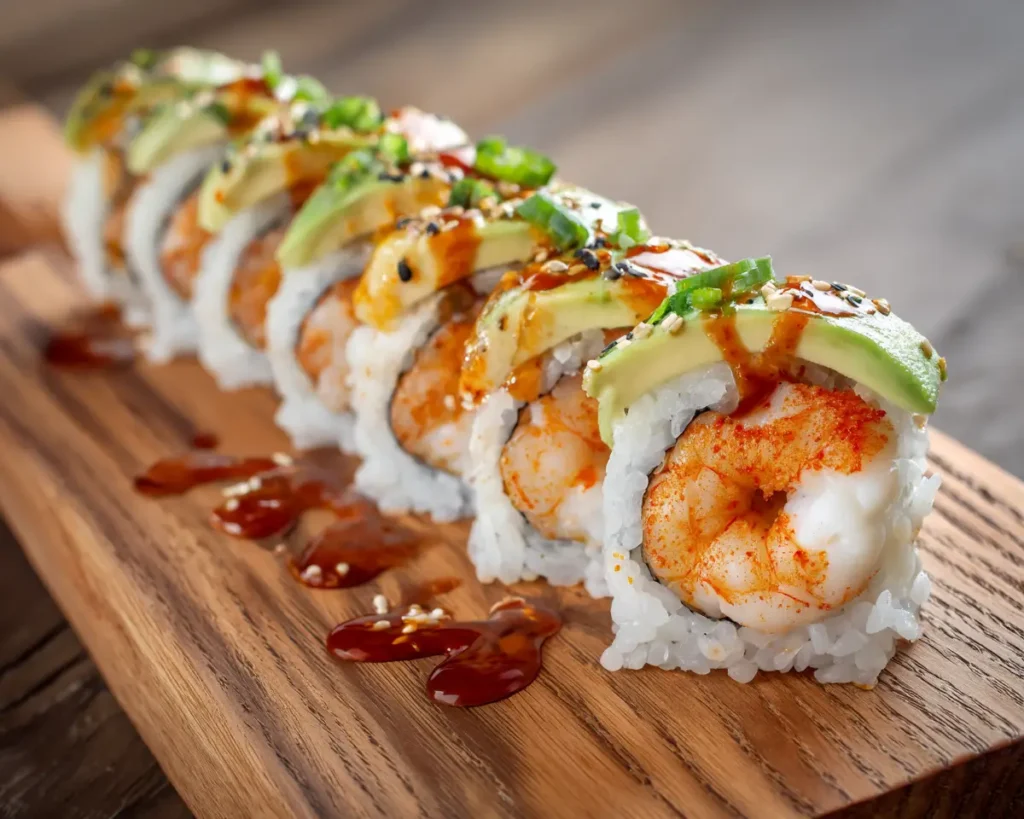
The Spicy Shrimp Roll Sushi Recipe is a delicious fusion of bold flavors and classic Japanese technique. Combining tender shrimp, creamy spicy sauce, and perfectly seasoned sushi rice, this roll delivers a balance of heat, freshness, and texture in every bite.
Sushi may seem intimidating to make at home, but this recipe simplifies the process while maintaining authentic taste. Whether you’re a beginner or a sushi lover, this spicy shrimp roll is perfect for homemade sushi nights, parties, or light meals.
Ingredients (Makes 4 Rolls)
For Sushi Rice
- 2 cups sushi rice
- 2 ½ cups water
- ¼ cup rice vinegar
- 2 tablespoons sugar
- 1 teaspoon salt
For Shrimp Filling
- 300 g shrimp (peeled and deveined)
- 1 tablespoon oil
- ½ teaspoon salt
- ½ teaspoon black pepper
Spicy Sauce
- 3 tablespoons mayonnaise
- 1 tablespoon sriracha sauce
- 1 teaspoon lemon juice
For Rolling
- 4 sheets nori (seaweed)
- 1 cucumber (cut into thin strips)
- 1 avocado (sliced)
- 1 tablespoon sesame seeds
Step-by-Step Cooking Guide
Step 1 – Prepare Sushi Rice
- Rinse sushi rice under cold water until water runs clear.
- Cook rice with water until soft.
- In a bowl, mix rice vinegar, sugar, and salt.
- Gently fold this mixture into warm rice. Let it cool.
Step 2 – Cook the Shrimp
- Heat oil in a pan over medium heat.
- Add shrimp, salt, and pepper.
- Cook for 2–3 minutes per side until pink and cooked through.
- Remove and let cool, then chop into small pieces.
Step 3 – Make Spicy Sauce
In a small bowl, mix mayonnaise, sriracha, and lemon juice until smooth. Combine with chopped shrimp.
Step 4 – Assemble the Sushi Roll
- Place a bamboo mat on a flat surface and cover with plastic wrap.
- Lay a sheet of nori on top.
- Spread a thin layer of sushi rice evenly over the nori.
- Sprinkle sesame seeds.
Step 5 – Add Filling
Place spicy shrimp mixture, cucumber, and avocado in a line across the center.
Step 6 – Roll the Sushi
- Lift the bamboo mat and roll tightly away from you.
- Press gently to shape the roll.
- Slice into 6–8 pieces using a sharp knife.
Cooking Time & Serving Size
| Detail | Time |
|---|---|
| Prep Time | 25 minutes |
| Cook Time | 15 minutes |
| Total Time | 40 minutes |
| Servings | 4 rolls (24–32 pieces) |
Tips & Variations
- Use a sharp knife dipped in water for clean sushi cuts.
- Add cream cheese for a creamy texture.
- Try tempura shrimp for a crunchy version.
- Substitute shrimp with crab or cooked salmon.
- Adjust spice level by increasing or reducing sriracha.
Nutrition Info (Per Serving – Approximate)
| Nutrient | Amount |
|---|---|
| Calories | 280 kcal |
| Protein | 15 g |
| Carbohydrates | 34 g |
| Fat | 9 g |
| Fiber | 2 g |
| Sugar | 4 g |
Values may vary based on ingredients used.
Healthy Alternatives
Low-Fat Option
Use light mayonnaise or Greek yogurt for the spicy sauce.
Sugar-Free Option
Skip sugar in the rice seasoning or use a sugar substitute.
Gluten-Free Option
Ensure soy sauce (if served) is gluten-free.
Keto-Friendly Option
Replace sushi rice with cauliflower rice and reduce carbs significantly.
Serving Suggestions
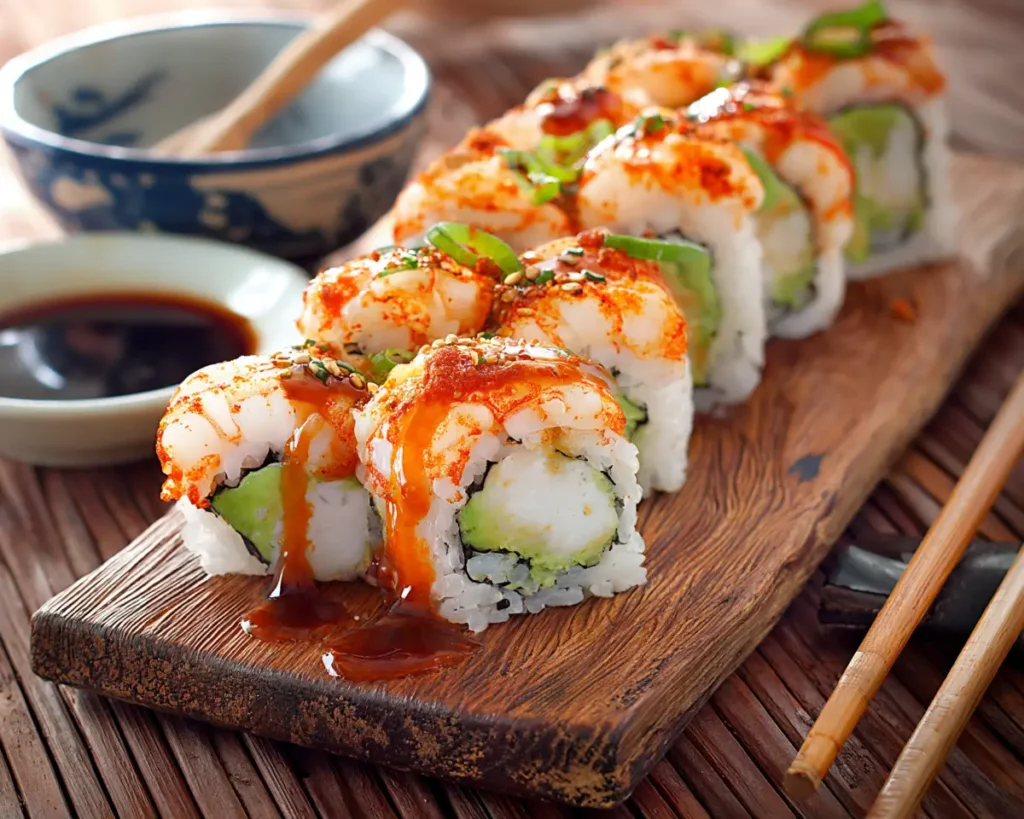
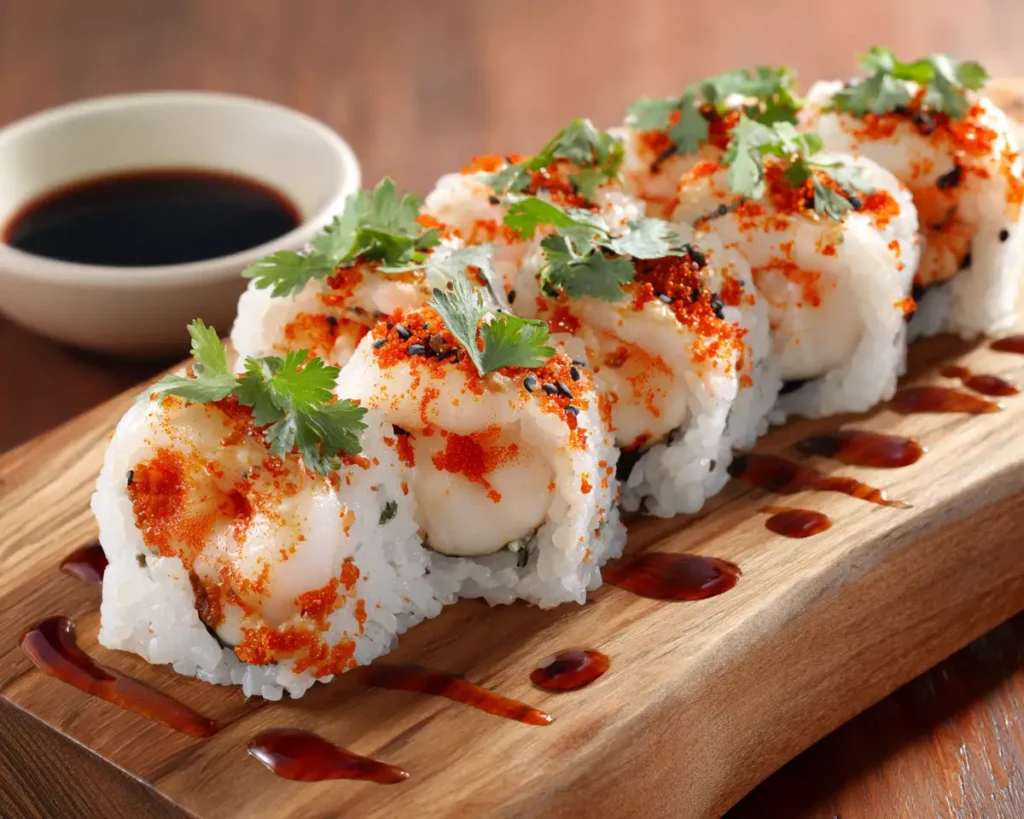
Serve your Spicy Shrimp Roll Sushi Recipe with soy sauce, pickled ginger, and wasabi for an authentic experience. Pair it with miso soup or a light salad for a complete meal.
This sushi roll is perfect for entertaining guests or enjoying a homemade sushi night. With its spicy kick and fresh ingredients, it delivers restaurant-quality flavor right in your kitchen.
FAQ’s
Can I use frozen shrimp?
Yes, just thaw completely and pat dry before cooking.
Do I need a bamboo mat to roll sushi?
It helps, but you can use parchment paper or a clean towel as an alternative.
How do I keep sushi from falling apart?
Roll tightly and avoid overfilling the roll.
Can I make sushi ahead of time?
Yes, but it’s best eaten fresh. Store in the fridge for up to 24 hours.
What rice is best for sushi?
Short-grain sushi rice works best due to its sticky texture.